Make your own e-liquid: the complete method
Three ingredients, a handful of accessories, and the wish to stop depending on whatever the shop happens to stock this month. On paper, deciding to make your own e-liquid looks like something anyone can do, and that is true. What stops most beginners is not the technical difficulty, it is the absence of a method: what goes in first, how the volumes are worked out, how long to wait. Here is the whole sequence, from empty bottle to first draw.
Make your own e-liquid: the method in brief
To make your own e-liquid at home you combine three things in an empty bottle: an unflavoured PG VG base, a flavour concentrate, and, if you want nicotine, one or more 10 ml nicotine shots. The principle fits into a single rule, the hundred percent rule: the percentages of concentrate, shots and base always add up to the finished volume.
In practice you fix the flavour percentage first, then the volume of shots according to the strength you are aiming at, and the base liquid fills whatever is left. Measure, pour, cap, shake, and then leave it alone for a while. Everything after that is a matter of precision and patience.
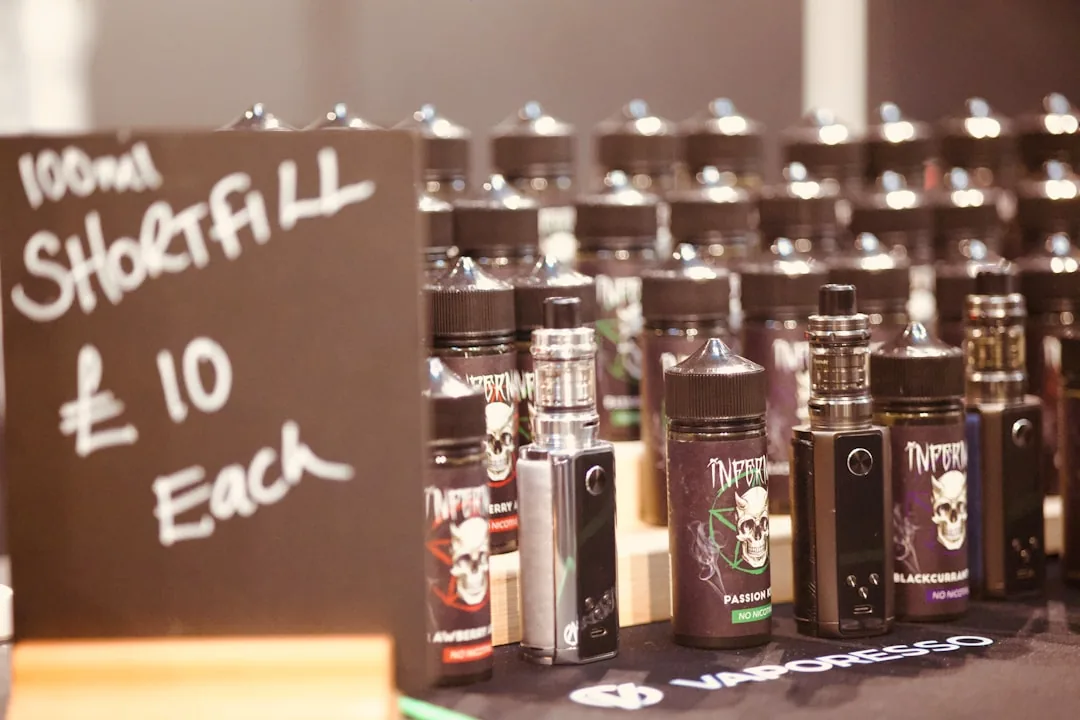
British mixers have a shortcut available too. A shortfill is a bottle of nicotine free liquid already flavoured, supplied with headroom for the shots, which skips the concentrate and base stages entirely. Mixing from scratch is the version that gives you every variable.
The kit you need
Before mixing anything you need a way to measure and transfer cleanly. The starting kit is modest and lasts indefinitely.
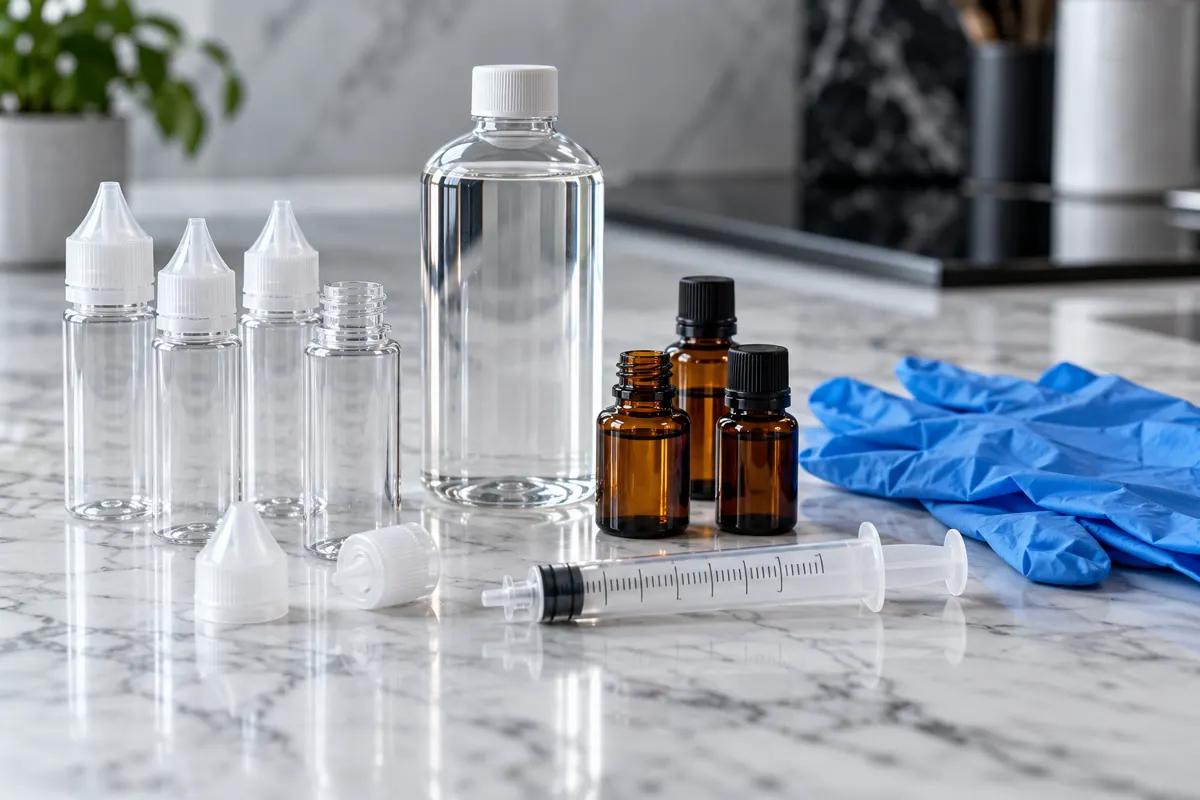
A graduated bottle in the size you are aiming at, a PG VG base, one or more flavour concentrates and your nicotine shots make up the core of it. For measuring there are two routes: graduated syringes, accurate to the millilitre, or a set of scales reading to a tenth of a gram if you would rather weigh everything.
Gloves belong in the kit as soon as nicotine is involved. Empty bottles, a marker for labelling and a small funnel round it out. Which accessories you actually need depends mostly on the volumes you make and on how much imprecision you are willing to live with.
Working out volumes with the hundred percent rule
The arithmetic frightens people more than it should. Once written down, the rule solves in your head for most recipes.
Take a common target: 100 ml of finished liquid, at 12 percent flavour, at 6 mg/ml. The flavour percentage gives 12 ml. The strength calls for 30 ml of shots, that is three 10 ml bottles at 20 mg/ml, a calculation set out in our guide to dosing a nicotine shot. The base then fills the rest: 100 minus 12 minus 30 leaves 58 ml.
The table below carries that same recipe across three common volumes.
| Final volume | Flavour at 12 percent | Shots at 20 mg/ml | Base liquid |
|---|---|---|---|
| 10 ml | 1.2 ml | 3 ml | 5.8 ml |
| 50 ml | 6 ml | 15 ml | 29 ml |
| 100 ml | 12 ml | 30 ml | 58 ml |
The flavour percentage is not universal, and it is printed on the concentrate bottle. Simple single fruit flavours are usually dosed low, dessert and tobacco profiles higher. Sticking to the range the maker publishes is what stands between a bottle you enjoy and one that is either sickly or tasteless.
The pouring order
The order does not change the chemistry, but it smooths out the process and cuts down on measuring errors. A consistent routine is the best guarantee that a recipe can be repeated.
Most mixers pour the base first, since it is the most fluid and the easiest to read against the graduations at the bottom of the bottle. The nicotine shots follow, measured with a syringe, and the concentrate goes in last, drop by drop, so you do not overshoot the percentage.
Then you cap the bottle and shake it hard for a good minute to bring everything together. At that point the mix looks finished, and it very nearly is.
Steeping, the stage people skip
A freshly shaken e-liquid rarely tastes the way it will in a week. The flavour molecules need time to bind into the base, and that waiting period is called steeping.
Skipping it gives a flat result, sometimes with an unpleasant chemical edge. Depending on the flavour family the rest runs from a few hours to several weeks, which is a subject in its own right and one we cover in our article on steeping an e-liquid.
For now, remember that a simple fruit is nearly ready straight away, while a dessert or a tobacco profile gains a lot from patience. Label every bottle with its date and recipe so you never lose track of which is which.
Safety and storage, in three habits
None of this is complicated, and all of it matters more than the recipe. Nicotine is not a household ingredient, and the storage rules apply from the day you buy your first shot.
Wear gloves whenever you handle nicotine, and wipe any spill immediately rather than later. Keep every bottle, shots included, well out of reach of children and pets, ideally in a closed box rather than a kitchen drawer.
Store the whole kit away from light and heat, upright and firmly capped, since light and air are what degrade both nicotine and concentrates. None of these products may be sold to anyone under eighteen in the United Kingdom, and that applies to the ingredients as much as to a finished bottle.
Frequently asked questions
Is mixing at home cheaper than buying bottles ready made?
Per millilitre it usually works out lower once the kit is paid for, because base liquid and concentrates are bought in large formats. The upfront outlay is limited to measuring accessories, which are reusable indefinitely.
How long does preparing a bottle take?
The mixing itself takes a few minutes once the sum is done. It is the steeping that stretches the timeline before the liquid is at its best, from a few hours to several weeks depending on the flavour.
Can I combine several concentrates in one recipe?
Yes, and that is the whole basis of creating your own profiles. Add up the percentages of each concentrate and subtract the total from the base, keeping the hundred percent rule intact.
Do I need scales or will syringes do to start with?
Syringes are enough at the beginning and cost very little. Scales become worthwhile for large volumes and complex recipes, where weighing is faster than measuring bottle by bottle.
How long does a home mixed bottle keep?
Kept cool, dark and firmly capped, several months. Nicotine and some flavour compounds evolve over time, which can shift the taste slightly without making the liquid unusable.
Make your own e-liquid: what to remember
Deciding to make your own e-liquid demands neither a laboratory nor any particular talent, only a method: the hundred percent rule for the volumes, a consistent pouring order, and respect for the steeping time. Those three habits turn a hesitant first attempt into a reliable practice where every recipe can be reproduced.
Add the safety routine to them and the picture is complete. Gloves on the table, bottles out of reach, everything labelled and stored away from light. That is the foundation on which the rest of home mixing sits, from the choice of base to the ratio, and the reason a bottle you built yourself ends up tasting exactly the way you meant it to. If you want to go further into that foundation, our guide to the PG VG ratio of a base is the next step.
One last piece of advice for a first session. Start small, on a 30 or 50 ml batch rather than a large bottle, and write down what you did while you are doing it rather than afterwards. A recipe you cannot read back is a recipe you cannot correct, and correcting is most of the craft.
Keep a notebook or a simple file with the flavour, the percentage, the ratio, the strength and the date of every bottle, and within a month you will have a reference library of your own. That is really the point of choosing to make your own e-liquid rather than buying it ready mixed: not the saving, but the ability to repeat, adjust and own the result.
Editorial content for adult readers only. Nicotine is an addictive substance and vaping products are not for sale to under-18s in the United Kingdom. This article is not a buying recommendation.